In this article, we cover service workers. They aim to solve a particular problem: how should our application behave when we’re offline? A service worker is a script, that runs in the background, separate from our web page and all new major browsers support it. Using the cache mechanism and intercepting the requests are one of the things it can do and we cover it today.
Registering a service worker
Let’s create an elementary example with a service worker:
index.html
|
1 2 3 4 5 6 |
<html> <head> <script src="./index.js" ></script> </head> <body></body> </html> |
index.js
|
1 2 3 4 5 6 7 8 9 |
if (navigator.serviceWorker) { navigator.serviceWorker.register('./worker.js') .then(() => { console.log('ServiceWorker registration successful'); }) .catch(err => { console.log('ServiceWorker registration failed', err); }) } |
In the code above, we check if the browser support service workers and if it does, we register our first service worker using the navigator.serviceWorker.register function. For now, the worker.js can even be empty, therefore let’s try to open the index.html file and inspect the outcome.

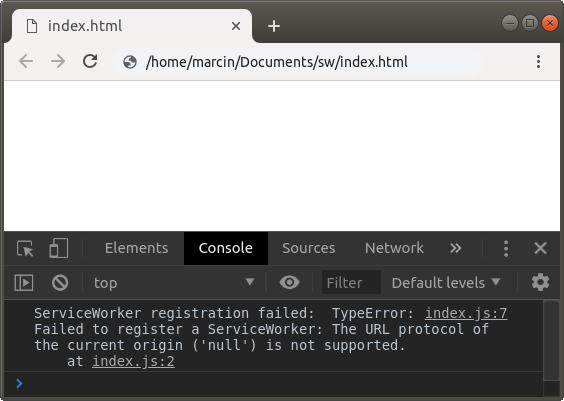
Unfortunately, the above approach fails, and we experience an error:
ServiceWorker registration failed: TypeError: Failed to register a ServiceWorker: The URL protocol of the current origin (‘null’) is not supported.
The above is caused by the fact that the service workers work only with HTTPS or on localhost. Opening a file from our disc works as neither of the above. The most straightforward way to work on service workers locally is to use a solution like the http-server.
|
1 |
npm install -g http-service |
You might need need to use admin privilages to install packages globally as above, depending on your setup and the operating system
Using the cache mechanism
Within the service worker lifecycle, the registration is followed by the installation phase. After we are done downloading our service worker after the registration, the install event triggers as soon as the worker executes. Using the self.addEventListener function we can listen for the above.
worker.js
|
1 2 3 |
self.addEventListener('install', () => { console.log('Service worker installed!') }); |
This also is a good place to define what do we want to put in our cache. Let’s add some images to our page.
index.html
|
1 2 3 4 5 6 7 8 |
<html> <head> <script src="./index.js" ></script> </head> <body> <img src="./dog.jpg" alt="dog" /> </body> </html> |
worker.js
|
1 2 3 4 5 6 7 8 |
const CACHE_NAME = 'test-cache'; self.addEventListener('install', () => { caches.open(CACHE_NAME) .then((cache) => { cache.add('./dog.jpg'); }) }); |
In the code above, we define a name for our cache container: we can have multiple ones. Then, we explicitly state that we want to cache that image in the browser. The cache.add makes a request and saves the response in the cache.
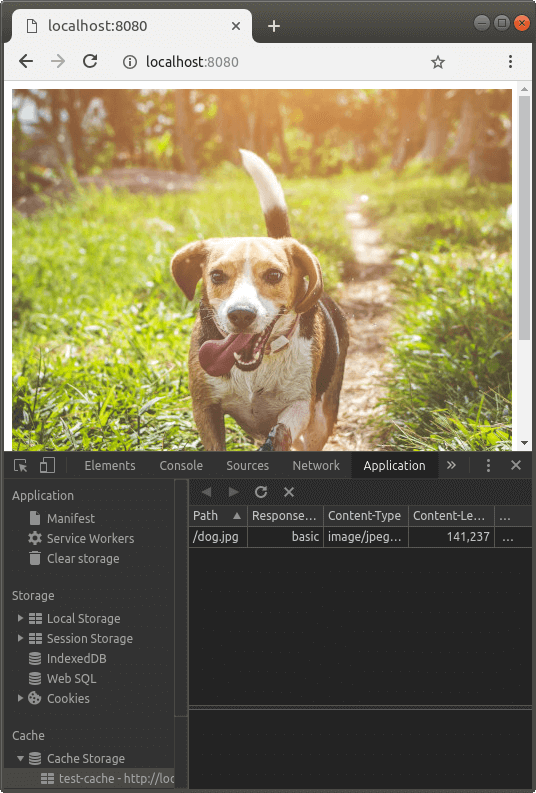
Let’s inspect the outcome of our code:

And just like that, the image is in the cache. It does not yet mean that when we delete the image from our server, it is pulled from cache. To do that, we need to dive a bit deeper.
Reacting to various requests
Another event inside of our service worker is “fetch“, and it fires every time the user of our page makes a request.
worker.js
|
1 2 3 4 5 6 7 8 |
self.addEventListener('fetch', (event) => { if( event.request.url !== 'http://localhost:8080/' && !event.request.url.includes('index.js') ) { event.respondWith(new Response('Hello!')) } }); |
The
Requestinterface represents a resource request.
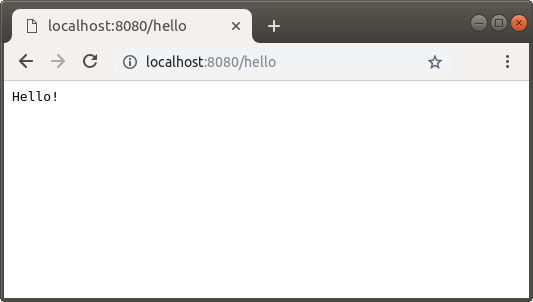
When we open the main page, we register the service worker. Let’s open some other page now.

An essential thing to understand here is that our index.html file wasn’t loaded here: it does not have to, because the service worker is registered for the whole http://localhost:8080 origin. The above means that every time you make a request while your origin is http://localhost:8080, the service worker intercepts the requests. The important thing is that it also works when you are offline.
For this particular example, we exclude the main page, so that it loads with the script registering the service worker.
The event.respondWith requires either an instance of the Response or the promise that resolve to it. By running event.respondWith(new Response('Hello!')) we respond with “Hello!” and therefore the browser displays it.
The same rules apply to requests from our JavaScript code.
|
1 2 3 4 5 6 7 8 9 10 11 12 13 14 15 16 |
if (navigator.serviceWorker) { navigator.serviceWorker.register('./worker.js', { scope: '/' }) .then(() => { console.log('ServiceWorker registration successful'); }) .catch(err => { console.log('ServiceWorker registration failed', err); }); navigator.serviceWorker.ready.then(() => { fetch('http://jsonplaceholder.typicode.com/posts') .then(response => response.text()) .then(data => { console.log(data === 'Hello!'); }) }) } |
As soon as the service worker is active, the navigator.serviceWorker.ready promise resolves, and we make a request. Since our service worker listens to the fetch event, it responds with Hello!.
The example above shows that with the service worker, we control the responses from requests that our application makes. Even if the endpoint that we try to fetch from doesn’t exist or the app is currently offline, the response is modified.
Using cache
The fetch event is also a fitting place to use assets that we’ve previously cached. Even though the image that we use on our page is already cached, we don’t utilize it yet. To make sure of that, let’s remove the file from our server and try to load the page.

This is because we need to tell our service worker explicitly to look into the cache first. To do that, we need to use the fetch event that we describe above.
worker.js
|
1 2 3 4 5 6 7 8 9 10 11 12 13 14 15 16 17 18 19 20 |
const CACHE_NAME = 'test-cache'; self.addEventListener('install', () => { caches.open(CACHE_NAME) .then((cache) => { cache.add('/dog.jpg'); }) }); self.addEventListener('fetch', (event) => { event.respondWith( caches.open(CACHE_NAME) .then((cache) => { return cache.match(event.request) .then((response) => { return response || fetch(event.request) }); }) ); }); |
In the example above, when the request comes in, we first check if we already have the asset in the cache. If yes, we send it in the response – otherwise, we fetch it. If the user of your application would be offline and he would try to access the image, it might have been taken from the cache.
We can modify the behavior to always cache everything on the go, without the need to use the install event:
|
1 2 3 4 5 6 7 8 9 10 11 12 13 14 15 16 |
const CACHE_NAME = 'test-cache'; self.addEventListener('fetch', (event) => { event.respondWith( caches.open(CACHE_NAME) .then((cache) => { return cache.match(event.request) .then((cachedResponse) => { return cachedResponse || fetch(event.request).then((response) => { cache.put(event.request, response.clone()); return response; }); }); }) ); }); |
In this example, every time the user makes a request, we first check if we can pull it from the cache. If no, we make a request and then save it to the cache with the cache.put function, so that we can use it later.
The cache.put function differs from the cache.add function in a way that it does not make the request because the user already made it.
We can only read the response body once, therefore we use the clone() functon
Summary
In this article, we’ve gone through the very basics of Service Workers and caching. It included registering service workers and being aware of the fact that it runs either in localhost or with HTTPS. We’ve also implemented an uncomplicated caching mechanism. By learning how to react to requests in our application, we learned how to utilize the cache and pull our assets from there. Since this is a very simple example, we could add more logic to it and will do so in the upcoming articles.
